
A casement window is only as good as its installation. Even the best thermal-break aluminum window will leak, bind, or lose its seal if it is not set level, anchored properly, and sealed correctly. This guide gives a practical, step-by-step checklist you can use before, during, and after installation, along with the common mistakes that lead to callbacks. The checklist below is written for contractors and careful homeowners alike, and it covers the three places where problems usually appear: the opening, the seal, and the drainage. With 36 years of manufacturing experience, PAIYA Windows & Doors supplies technical files, node drawings, and installation guidance to help its partners reduce exactly these risks.
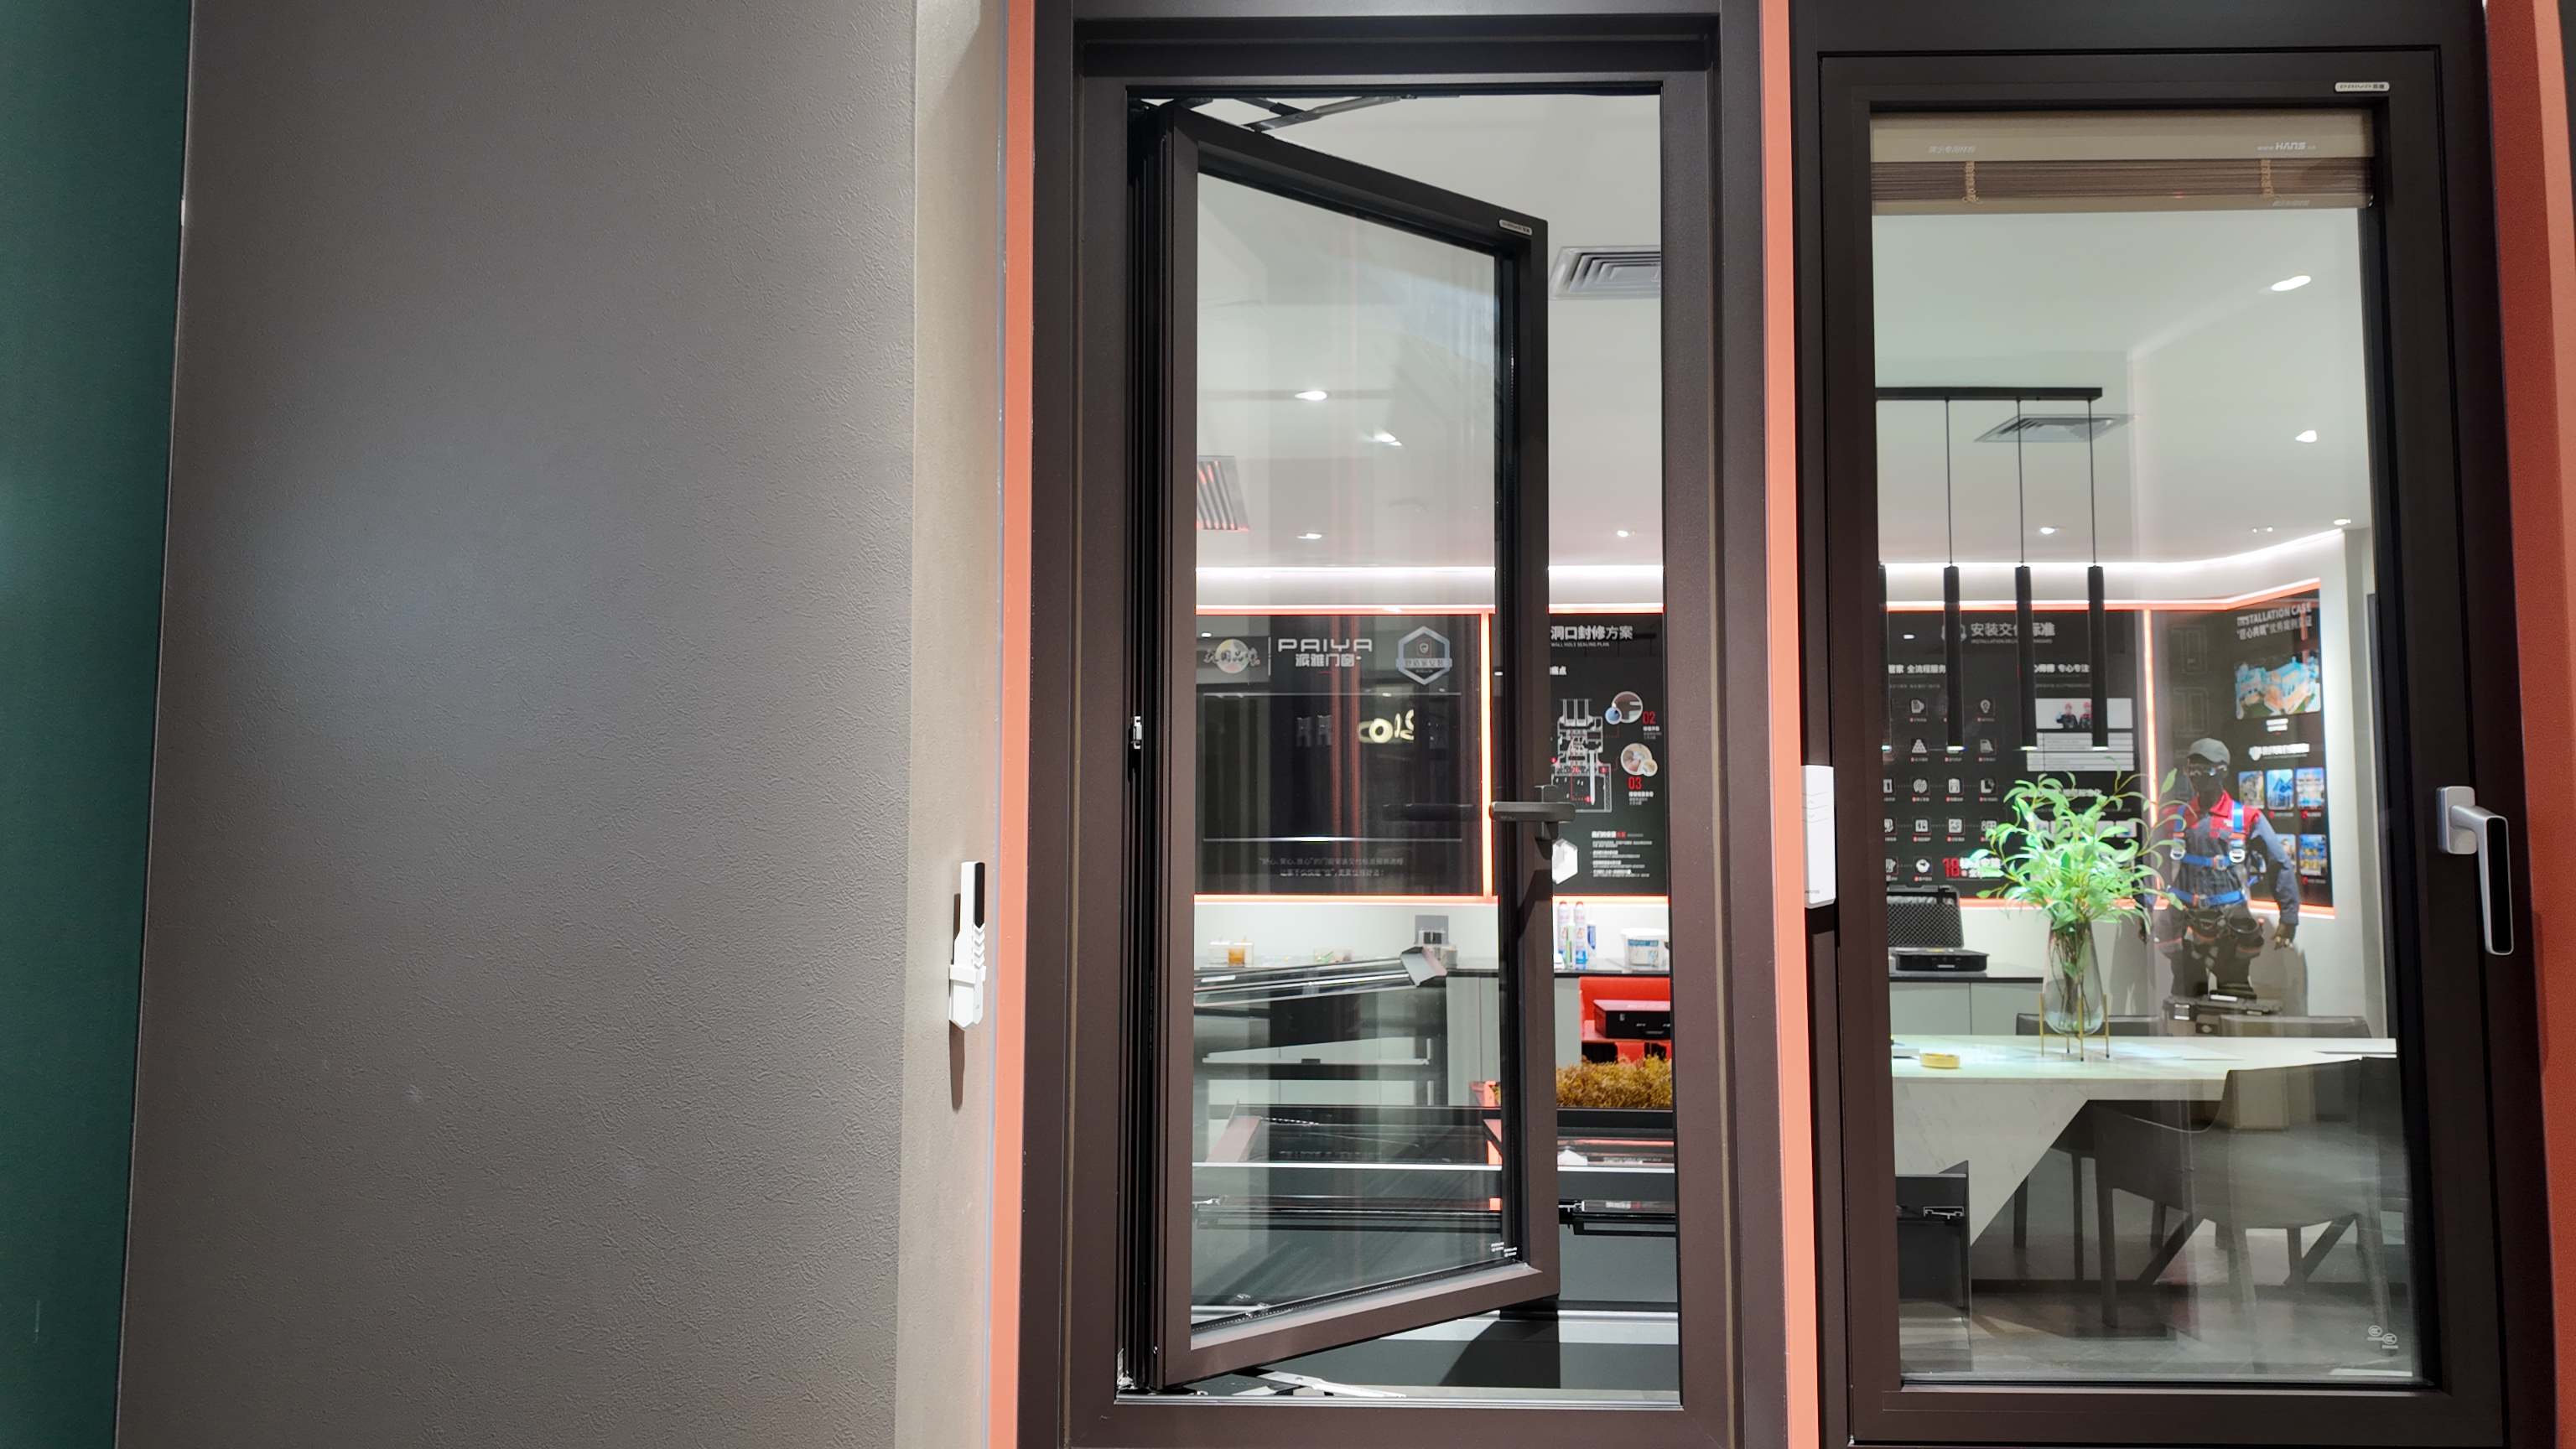
1. Before You Install: Measurements and Preparation
Good installation starts before the window leaves the truck. Check the rough opening against the window's outer frame size. The opening should be slightly larger, with a consistent clearance on all sides so the frame can be shimmed and sealed properly. A clearance that is too tight leaves no room for adjustment, while one that is too wide makes sealing unreliable.
Next, confirm that the opening is square and plumb. Use a level on both the vertical and horizontal surfaces, and check that the opening is not twisted. A warped or out-of-square opening transfers stress into the frame and can cause the sash to bind later. Finally, verify that the substrate — concrete, brick, timber, or steel — is sound, dry, and free of debris, and that the load-bearing points can carry the full weight of the casement window.
2. Setting the Frame: Level, Plumb, and Anchored
Position the frame in the opening and support it with shims at the corners and near the hardware mounting points. Shims do the important work of keeping the frame stable while you adjust it, so place them where they will not interfere with fixing or sealing.
Check level and plumb in every direction, and measure the diagonals to make sure the frame is square. Once the frame is correctly positioned, anchor it to the structure using the specified fixings at the spacing recommended by the manufacturer. Tighten fixings gradually and avoid over-tightening, which can bow the profile and distort the frame. After anchoring, check level and square again — small adjustments are far easier to make now than after the glass is installed.
3. Sealing, Flashing, and Drainage
Sealing is where most leaks begin, so this step deserves the most attention. Create a continuous drainage path around the opening with flashing tape or membrane, and make sure it laps in the right order so water always drains outward rather than being trapped. Fill the gap between the frame and the structure with a backing rod and a compatible sealant, applied in a continuous bead with no voids.
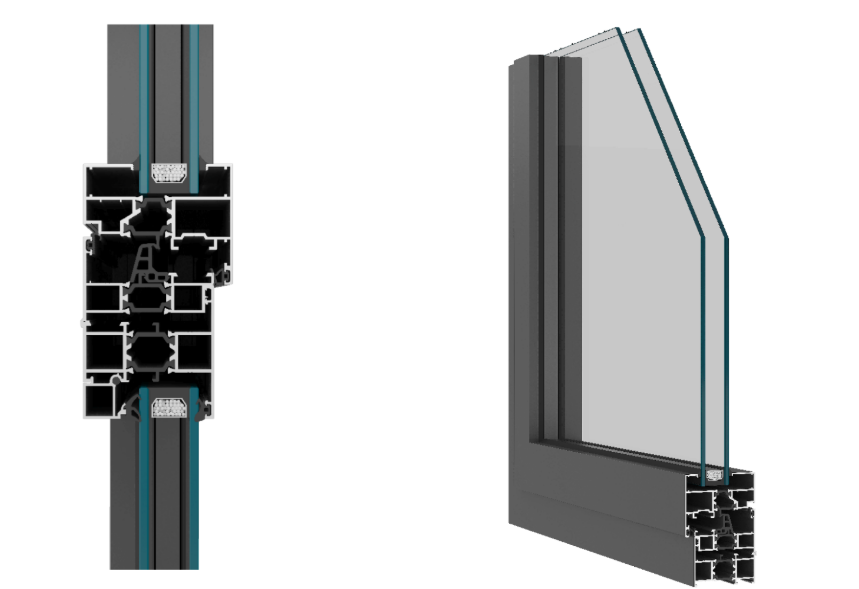
The drainage channels matter just as much as the sealant. Every casement window frame has weepholes or drainage slots that carry away any water that enters the frame. Check that these openings are clear and correctly positioned, and never block them with sealant. In coastal or high-wind locations, use corrosion-resistant fixings and a continuous air-and-water barrier for extra protection.
Apply sealant only to clean, dry surfaces and at the temperature recommended by the product. A bead that is too thin can tear, while one applied over dust or moisture will not bond. Where the window meets a rendered or brick facade, use a backing rod so the sealant forms a flexible two-point bond rather than filling the entire cavity.
4. Glazing and Hardware Adjustment
Install the glass unit so that the gaskets seat evenly and the glass is not pinched or stressed against the frame. Then mount the sash and adjust the hinges and locking points so the sash closes evenly and the compression seals make uniform contact on all four sides. A multi-point lock should engage smoothly without forcing; if it does not, the frame is likely out of square and should be corrected rather than forced.
5. Final Acceptance Checklist
Before you consider the job done, walk through this final checklist:
- Level and square: The frame is level, plumb, and square within tolerance, with equal diagonals.
- Operation: The sash opens and closes smoothly through its full range without rubbing or sticking.
- Locking: Multi-point locks engage fully and hold the sash tight against the seals.
- Sealing: The gaskets compress evenly with no visible gaps or light showing around the sash.
- Drainage: Weepholes and drainage channels are clear and unobstructed.
- Sealant: Beads are continuous, with no cracks, voids, or gaps.
- Glass: Panes are clean and free of scratches, and the insulated glass unit is intact.
- Protection: Exposed surfaces are cleaned and protected until construction work is finished.
Going through these eight points catches nearly all of the issues that later turn into air leaks, water stains, or a window that is hard to open.
6. Common Mistakes to Avoid
Most installation problems come from a handful of repeatable mistakes. Skipping the level check is the most common — a frame that looks fine but is slightly out of square will bind at the lock and leak at the corner. Blocking the drainage holes with sealant is another frequent error that turns a well-built frame into a water trap. Over-tightening fixings can bow the profile, while installing on a wet or damaged opening prevents the sealant from bonding. Finally, ignoring the slope of the sill leaves water nowhere to drain, and failing to re-check after anchoring lets small errors become permanent.
On upper floors, also check that any outward-opening sash has room to swing and will not strike a balcony, railing, or neighboring panel — a clearance issue that is easy to miss at ground level and expensive to fix later.
After Installation: What to Watch For
In the first weeks after installation, keep an eye on a few things. Open and close the window several times to confirm that operation stays smooth as the sealant cures. Check the corners and sill after heavy rain to confirm water is draining outward and not pooling inside. If the sash begins to stick, re-check level and square before the frame is fully finished. Catching these issues early keeps a small adjustment from becoming a full re-installation.
7. Why Installation Quality Matters
The performance of a window — its airtightness, water tightness, sound insulation, and thermal rating — only shows up when the installation is correct. A certified product tested to NFRC, CSA, or AS2047 standards reaches its rated performance only when it is set level, sealed properly, and left with clear drainage. That is why PAIYA provides complete technical files, node drawings, and installation guidance as part of its project support, helping distributors and contractors reduce installation risk.
With 36 years of manufacturing experience and a 300,000-square-meter smart factory, PAIYA supports projects across North America, Australia, the Middle East, and Southeast Asia. For outward-opening, inward-opening, and tilt-and-turn casement windows alike, the goal is the same: a window that arrives ready to install and performs as specified once it is in the wall.
Conclusion
Installing a casement window well is mostly a matter of patience and order: measure first, level carefully, seal continuously, and verify drainage. Follow this checklist and you will avoid the leaks, drafts, and binding that usually come from rushing. If you need installation drawings or technical support for a specific project, contact PAIYA for node drawings, installation guidance, and a customized quotation.